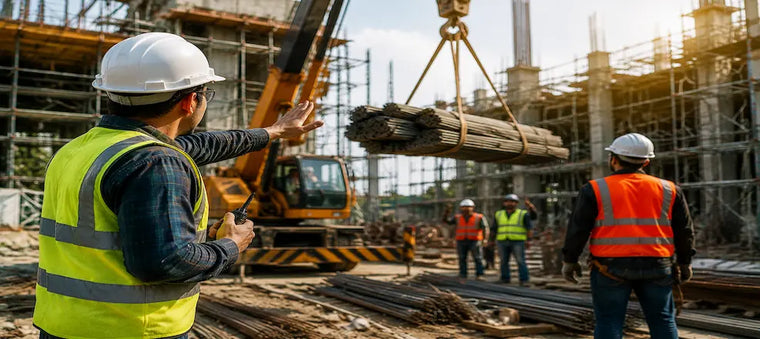
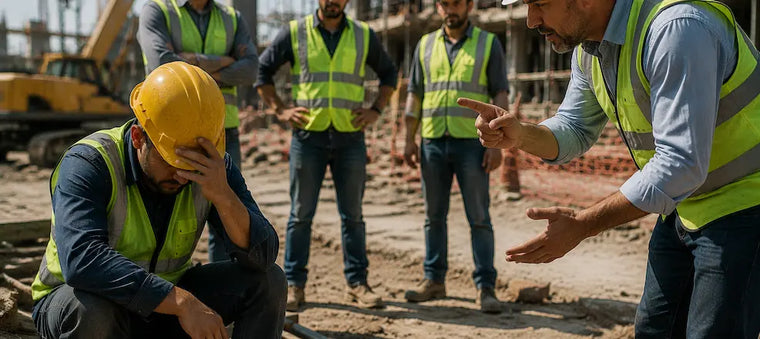
A worker climbs scaffolding to finish a routine task. A guardrail is missing—unnoticed during the morning rush. Within seconds, a preventable fall turns into a life-altering injury. Scenes like this play out on construction sites worldwide, yet the vast majority are entirely avoidable.
Construction remains one of the most hazardous industries on earth. Workers face daily exposure to heights, heavy machinery, electrical systems, and unstable ground. The combination of changing environments, multiple contractors, and tight deadlines creates a perfect storm for accidents.
This is exactly why risk assessments save lives. A well-executed risk assessment identifies dangers before they cause harm, protects your workforce, and keeps your project legally compliant.
In this guide, you'll learn what a construction risk assessment is, why it matters, the most common site hazards, and a clear step-by-step process to conduct one effectively—so you can build safer sites from the ground up.
Quick Answer: What Is a Construction Risk Assessment?
A construction risk assessment is a systematic process of identifying hazards on a building site, evaluating who could be harmed and how, and implementing control measures to reduce or eliminate risks. It protects workers, ensures legal compliance, and prevents accidents before they happen.
Why Construction Risk Assessments Matter
Risk assessments are far more than paperwork—they are the foundation of a safe, productive, and legally sound construction project.
-
Accident prevention: Proactively identifying hazards stops incidents before they occur, reducing falls, equipment collisions, and injuries.
-
Worker protection: A documented assessment ensures every team member understands the risks and the steps taken to keep them safe.
-
Productivity benefits: Fewer accidents mean fewer delays, less downtime, and smoother project delivery.
-
Cost reduction: Preventing injuries lowers insurance premiums, compensation claims, legal fees, and equipment damage.
Failing to assess risks doesn't just endanger lives—it exposes companies to fines, project shutdowns, and reputational damage.
Common Construction Site Hazards
Understanding the typical dangers is the first step toward controlling them.
Working at Height
-
Roof work – sloped or fragile surfaces, edge falls
-
Scaffolding – missing guardrails, unstable platforms
-
Ladders – improper setup, overreaching
In the US, these risks are directly addressed by OSHA 1926 Subpart M on fall protection, which requires protection whenever workers are exposed to falls of six feet or more.
Moving Equipment
-
Cranes – swinging loads, collapse risks
-
Forklifts – pedestrian collisions, tipping
-
Excavators – blind spots, contact injuries
Electrical Hazards
Exposed wiring, overhead power lines, and faulty tools causing shocks or electrocution.
Excavation & Trenching Risks
Trench collapse, cave-ins, and buried utility strikes. These risks are governed in the US by OSHA 1926 Subpart P on excavations, which mandates protective systems such as shoring, shielding, or sloping for trenches five feet deep or more.
Falling Objects
Tools, materials, and debris falling from heights onto workers below.
Hazardous Substances
Asbestos, silica dust, solvents, and toxic fumes causing long-term health damage.
Manual Handling Injuries
Lifting heavy loads leading to back injuries, strains, and musculoskeletal disorders.
A construction site hazard checklist should include an assessment of common risks such as working at height, moving equipment and vehicles, electrical systems, excavations, falling objects, hazardous substances, manual handling activities, fire risks, noise and vibration exposure, and slip, trip, and fall hazards. Each of these areas should be inspected regularly to identify potential dangers, implement appropriate control measures, and maintain a safe working environment for all personnel on site.
Step 1: Define the Scope of the Assessment
Before identifying hazards, you must clearly outline what your assessment will cover. A defined scope prevents gaps and ensures nothing is overlooked.
Consider These Elements:
-
Site boundaries – Map the physical limits, including access points, storage areas, and adjacent public spaces.
-
Activities – List all tasks being performed, from excavation to electrical installation.
-
Workforce – Account for everyone on site, including their roles and experience levels.
-
Contractors – Identify subcontractors and how their activities interact with yours.
-
Equipment – Catalogue machinery, tools, and vehicles in use.
"What areas should a construction risk assessment cover?"
A construction risk assessment should cover the entire site footprint, all work activities, every worker and contractor present, all equipment and machinery, and any adjacent public areas that could be affected.
Step 2: Identify Construction Hazards
With your scope set, systematically uncover every potential hazard.
Use Multiple Methods to Ensure Comprehensive Coverage:
-
Site inspections – Conduct regular walkthroughs to spot physical dangers in real time.
-
Worker consultation – Frontline staff often notice risks that managers miss.
-
Incident records – Review past accidents and near-misses to identify recurring problems.
-
Safety audits – Use formal, structured reviews to evaluate compliance and conditions.
-
Toolbox talks – Hold short, focused safety briefings to gather feedback and raise awareness.
Hazard Identification Checklist:
- Visual site inspection completed ☐
- Workers consulted ☐
- Incident logs reviewed ☐
- Equipment inspected ☐
- Environmental conditions assessed ☐
- Material safety data sheets checked ☐
- Contractor activities reviewed ☐
Step 3: Determine Who Might Be Harmed
Once hazards are identified, pinpoint exactly who is at risk and how.
Different Groups Face Different Levels of Exposure:
-
Workers – Those directly performing tasks face the highest and most immediate risks.
-
Visitors – Clients, inspectors, and delivery drivers may be unfamiliar with site dangers.
-
Contractors – Subcontractors working alongside your team may be exposed to overlapping hazards.
-
Public – Pedestrians and neighbouring properties can be affected by falling objects, dust, or traffic.
-
Vulnerable workers – Young or inexperienced staff, pregnant employees, and those with health conditions require special consideration.
For each hazard, ask who could be injured and how the harm might occur. This ensures your control measures protect every person connected to the site—not just the workers directly involved.
Step 4: Evaluate Risks
Once hazards are identified, you need to measure how serious each one is. This is the heart of effective construction risk management.
The standard formula is:
Risk = Likelihood × Severity
By scoring how likely an incident is against how severe its consequences could be, you can prioritise which hazards demand immediate attention.
Simple Construction Risk Matrix
|
Likelihood ↓ / Severity →
|
Minor
|
Moderate
|
Major
|
|
Unlikely
|
Low
|
Low
|
Medium
|
|
Possible
|
Low
|
Medium
|
High
|
|
Likely
|
Medium
|
High
|
Critical
|
-
Low – Monitor; minimal action needed
-
Medium – Implement controls within a set timeframe
-
High – Act promptly; significant controls required
-
Critical – Stop work immediately until controlled
This matrix turns subjective judgement into a clear, defensible decision-making tool.
Step 5: Implement Control Measures
The Hierarchy of Controls
With risks ranked, apply the hierarchy of controls—the most effective methods first:
1. Elimination
Remove the hazard entirely (e.g., prefabricate at ground level to avoid working at height).
2. Substitution
Replace with something safer (e.g., use a less toxic solvent).
3. Engineering Controls
Isolate people from the hazard (e.g., install guardrails or barriers).
4. Administrative Controls
Change how people work (e.g., permits, training, rotation).
5. PPE
Provide protective equipment as the last line of defence (e.g., harnesses, helmets).
Example: Working at Height Risk Assessment
-
Eliminate: Assemble units on the ground.
-
Engineering: Fit scaffold guardrails and toe boards.
-
Administrative: Restrict access to trained workers only.
-
PPE: Require fall-arrest harnesses.
This worked example follows the structure of NIOSH's hierarchy of controls, the most widely referenced model for prioritizing hazard controls.
Step 6: Document Findings
A risk assessment is only valid if it's recorded.
Use a Risk Register to Capture:
-
Corrective actions – What needs to be done
-
Responsibilities – Who is accountable
-
Deadlines – When it must be completed
Mini Example
|
Hazard
|
Action
|
Responsible
|
Deadline
|
|
Unguarded scaffold
|
Install guardrails
|
Site Supervisor
|
12 May
|
Clear documentation proves due diligence and supports compliance audits.
Step 7: Communicate the Assessment
Even the best assessment is useless if workers don't know about it.
Share Findings Through:
-
Toolbox talks – Short, task-focused safety briefings
-
Safety meetings – Regular reviews with the wider team
-
Contractor briefings – Aligning subcontractors with site rules
-
Safety signage – Visual reminders at point of risk
Step 8: Monitor and Review
Construction sites change daily, so assessments must be living documents.
Review Your Assessment After:
-
Incidents or accidents
- Near misses
-
New equipment introduction
- Design changes
- Regulatory updates
Continuous monitoring ensures controls stay effective as conditions evolve.
Construction Risk Assessment Example
|
Hazard
|
Risk
|
Control Measure
|
|
Scaffold Fall
|
High
|
Guardrails
|
|
Electrical Work
|
High
|
Lockout Procedures
|
|
Excavation Collapse
|
High
|
Shoring
|
Construction Safety Checklist
- Site boundaries and access points secured
- All hazards identified and logged
- Risk matrix scoring completed
- Control measures applied using the hierarchy of controls
- Guardrails and fall protection systems in place
- Electrical lockout/tagout (LOTO) procedures implemented
- Excavations properly shored and inspected
- Personal protective equipment (PPE) issued and worn correctly
- Workers briefed through regular toolbox talks
- Risk assessment review and update schedule established
How Risk Assessments Support Construction Safety Plans
Risk assessments don't stand alone—they form the backbone of a wider safety system.
They Support:
-
Method statements translate risk findings into safe step-by-step work procedures.
-
Safety plans consolidate assessments into a site-wide strategy.
-
Permit-to-work systems control high-risk activities like hot works or confined-space entry.
Together, these create a layered defence against accidents.
Build these skills with our Risk Assessment & Management Course.
Common Risk Assessment Mistakes
Copy-Paste Assessments
Generic templates miss site-specific dangers.
Failure to Update
Outdated assessments don't reflect current risks.
Poor Worker Involvement
Frontline insight is overlooked.
Ignoring Contractors
Subcontractor activities create hidden hazards.
Weak Documentation
Inadequate records fail compliance checks.
Key Takeaways
- Risk assessments prevent accidents by identifying hazards before they cause harm.
-
Use the formula Risk = Likelihood × Severity to prioritise dangers.
-
Apply the Hierarchy of Controls for the most effective protection.
- Document everything in a clear, actionable risk register.
- Communicate findings to every worker and contractor.
- Review assessments regularly and after any significant change.
-
Compliance is the baseline—prevention is the goal.
Risk assessments are not a box-ticking exercise—they are a proven method for preventing accidents and saving lives. Compliance alone is never enough; true safety comes from a culture of prevention and continuous improvement. By systematically identifying hazards, evaluating risks, and refining controls, you create construction sites where every worker goes home safely.
Want to strengthen your workplace safety skills? Explore our Risk Assessment & Management Course to learn practical techniques for identifying hazards, evaluating risks, and building effective risk control strategies across construction and other high-risk industries.